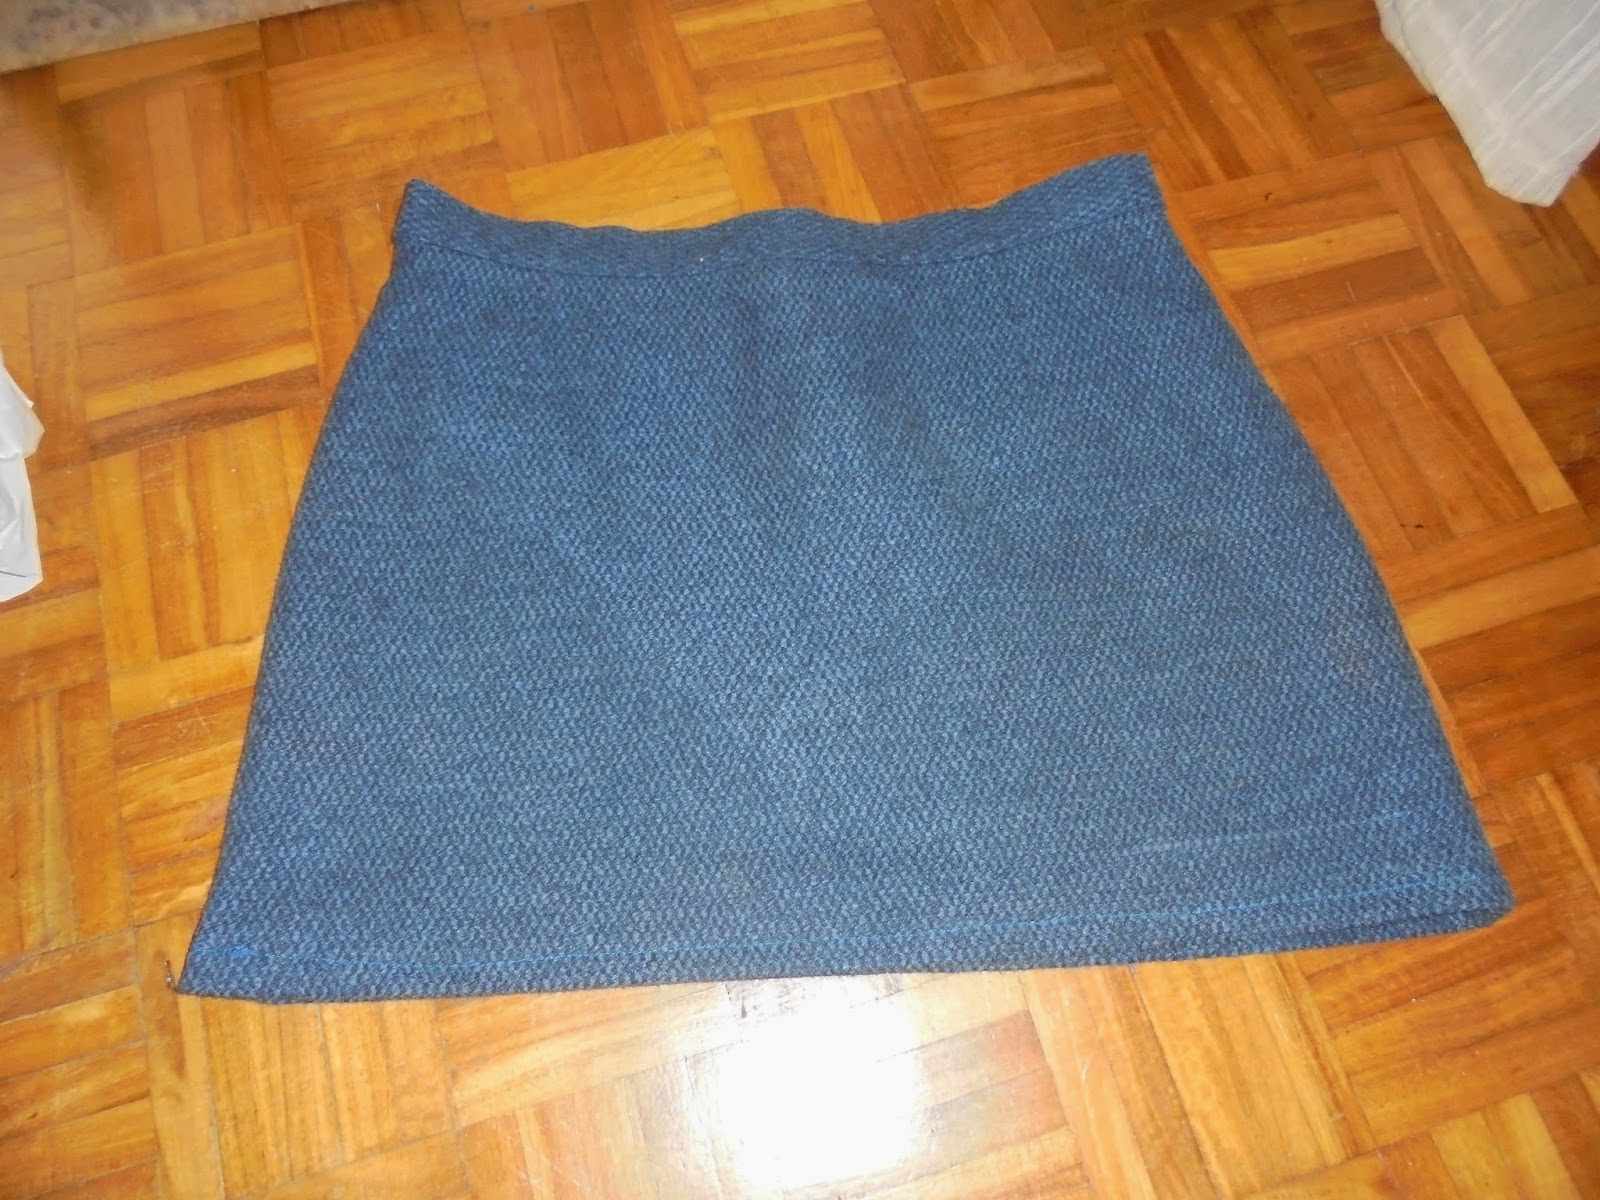
Algumas das roupas que herdei da
minha avó Mila não são propriamente atuais ou sequer do meu tamanho, e é por
isso que as aperto e altero. Esta saia tinha um tecido muito bom, bonito e
quentinho. Tive mesmo que a
aproveitar!
Some of the clothes
that I inherited from my grandmother Mila are not exactly current or even my
size, and that's why I tailor and change them. This skirt had a very good, nice
and warm fabric. I had even to use it!

É uma transformação simples que
não exige muitos conhecimentos de costura. Deixo-vos o passo a passo, para quem
quiser experimentar.
Para simplificar, podem optar por tornar
uma cintura subida em cintura descida, evitando mexer em pregas e apenas tendo
que apertar a cintura ligeiramente.
It is a simple
transformation that doesn’t require a lot of sewing knowledge. Here is the step
by step tutorial for those who want to try it.
For uncomplicatedness,
you may choose to turn a high waist in a low waist, and avoid messing with
darts.
Cortar o comprimento desejado. É
preciso ter em atenção que ainda se terá que fazer a bainha, por isso contem
com isso para não acabar com uma saia curta de mais.
Cut the desired
length. You need to be aware that you’ll have to do the hem, so count on it not
to end up with a shorter skirt than you’ve expected.

Depois de fazer as
medições, marcar com giz de alfaiate (ou caneta/lápis para costura) o que é
necessário apertar.
After taking
measurements, mark with tailor's chalk (or sewing pen/pencil).

Coser à máquina por essa linha.
Atenção na parte superior da saia, para não coserem o cós da saia (isso fica
para depois).
Sew through that line.
Attention not to sew the waistband of the skirt (that’s for later).

Cortar o tecido em excesso e depois
usar o ponto em ziguezague da máquina na borda do tecido. Este passo é
importante para que depois o tecido não comece a desfiar.
Cut the excess fabric
and then zigzag it. This step is important so that the fabric doesn’t fray.


Abrir as costuras com o ferro de
engomar as costuras ficarem lisas e o tecido cair bem.
Press seams open so that they’ll stay smooth professional looking.

Vamos então ao cós. A forma mais
correta, seria mesmo descosê-lo todo e voltar a aplica-lo à medida. Eu faço
batota. Corto o excesso e coso um lado.
Let's do the waistband
now. The right way would be to unpick it all and re-apply it with the correct
fit. I cheat. I just cut the excess and sew one side.

Depois, dobro o outro lado por
cima e coso (à máquina, ou se o tecido for muito grosso, como foi o caso, à
mão).
Then fold the other side over and sew (by machine, or if the fabric is
too thick, by hand).

Por fim, coser a bainha com a
medida desejada!
Finally, sew the hem with the desired length!

E pronto, está pronta a ser usada.
That's it, is ready for use.


No comments:
Post a Comment
Algo a comentar? Aqui é o lugar! :)